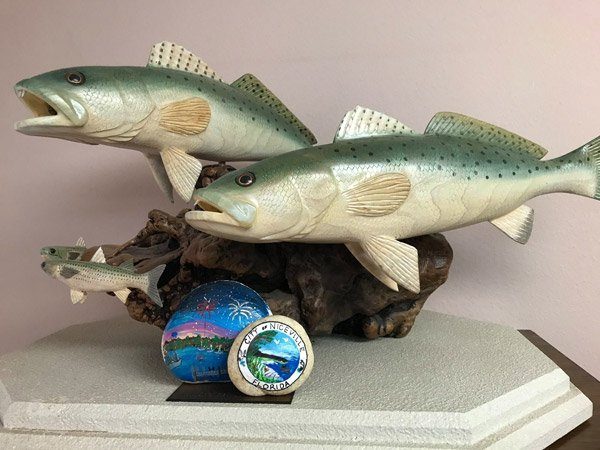
The Mullet Festival has a new competitive event for mullet fans and rock painters: The Mullet Festival Rock Painting Competition!
The event will take place Saturday, October 14, 3 p.m., at the Niceville Council Chambers. Contestants enter their Mullet Festival-themed painted rocks in the contest at that time. The rocks will be on display for all to enjoy, and refreshments will be provided. The public is invited to attend. There will also be a rock exchange, so bring your painted rocks.
There is no fee to enter. The first-place award is $200. A panel of judges will determine the winners. The winning designs will be announced at the Mullet Festival on Sunday, Oct. 22 around 5 p.m.
The rules are simple: All entries must be Mullet Festival-themed and rocks must arrive by 3 p.m. on Oct. 14 at the Council Chambers.
There will be two age divisions, 12 and under, and 13 and over.
CASH PRIZES:
$200 for 1st place
$100 for 2nd place
$50 for 3rd place
Never painted a rock before? Here’s a step-by-step rock-painting guide courtesy of feltmagnet.com:
1. First, of course, you need to find the perfect stone. Look for smooth rounded stones. River stones are best, or stones found on the beach. If you have a certain design in mind, like a cat, an owl, or a caterpillar, be on the lookout for the right shape stone to be your canvas. Searching for just the perfect stone is part of the fun!
2. If you don’t have time to wander around looking for just the perfect stone, you can march on down to Helms Hauling & Materials in Niceville or a nearby craft store. Natural stones come in small, large, dark or light colors so you can take your pick!
3. If you’re picking up your stones from mother nature, be certain you’re allowed to take the stones. National and state parks prohibit their removal.
4. If you picked up your canvas from the outdoors, you’ll want to make sure it’s nice and clean. Wash it off with some warm water and soap and pat it dry. You could even scrub it with an old toothbrush.
5. Some stones have rough patches on them that will make painting a little more difficult. You can sand it down with sandpaper, starting with 100 grit and moving to 150 and 220 grit until the patch is gone.
6. At this stage, you’re ready to draw your design onto the rock. It might be good to try practicing your design on a piece of paper beforehand to perfect it. When you draw your picture onto the rock, you can use a pencil, chalk, or soapstone – or even an ultra-fine Sharpie marker which offers a lot of control and the ability to draw small details.
7. Now you’re reading to start painting! All kinds of craft, water-based, or acrylic paints work well for rocks; however, BRIGHT acrylic paints work well. Be patient and move from the biggest parts of the design to the smallest, letting each coat dry before moving on. You can use a hairdryer to dry the paint faster.
8. Once you’ve finished painting your design, it’s time to seal it! Use a sealer and add a coat or two to make sure your art lasts for a long time.
PALMETTO, Fla. — A Florida man has been arrested and charged with evading tax payments…
WALTON COUNTY, Fla. — Law enforcement agencies here and across Florida are warning drivers about…
EGLIN AIR FORCE BASE, Fla. — Residents near Eglin Air Force Base may hear increased…
VALPARAISO, Fla. — The Okaloosa STEMM Academy recently held a National History Day (NHD) Showcase,…
NICEVILLE, Fla. — Residents of the City of Niceville will head to the polls on…
DESTIN, Fla. — A Destin man has been charged with aggravated battery with a deadly…